 CALL TODAY: 302-945-0100
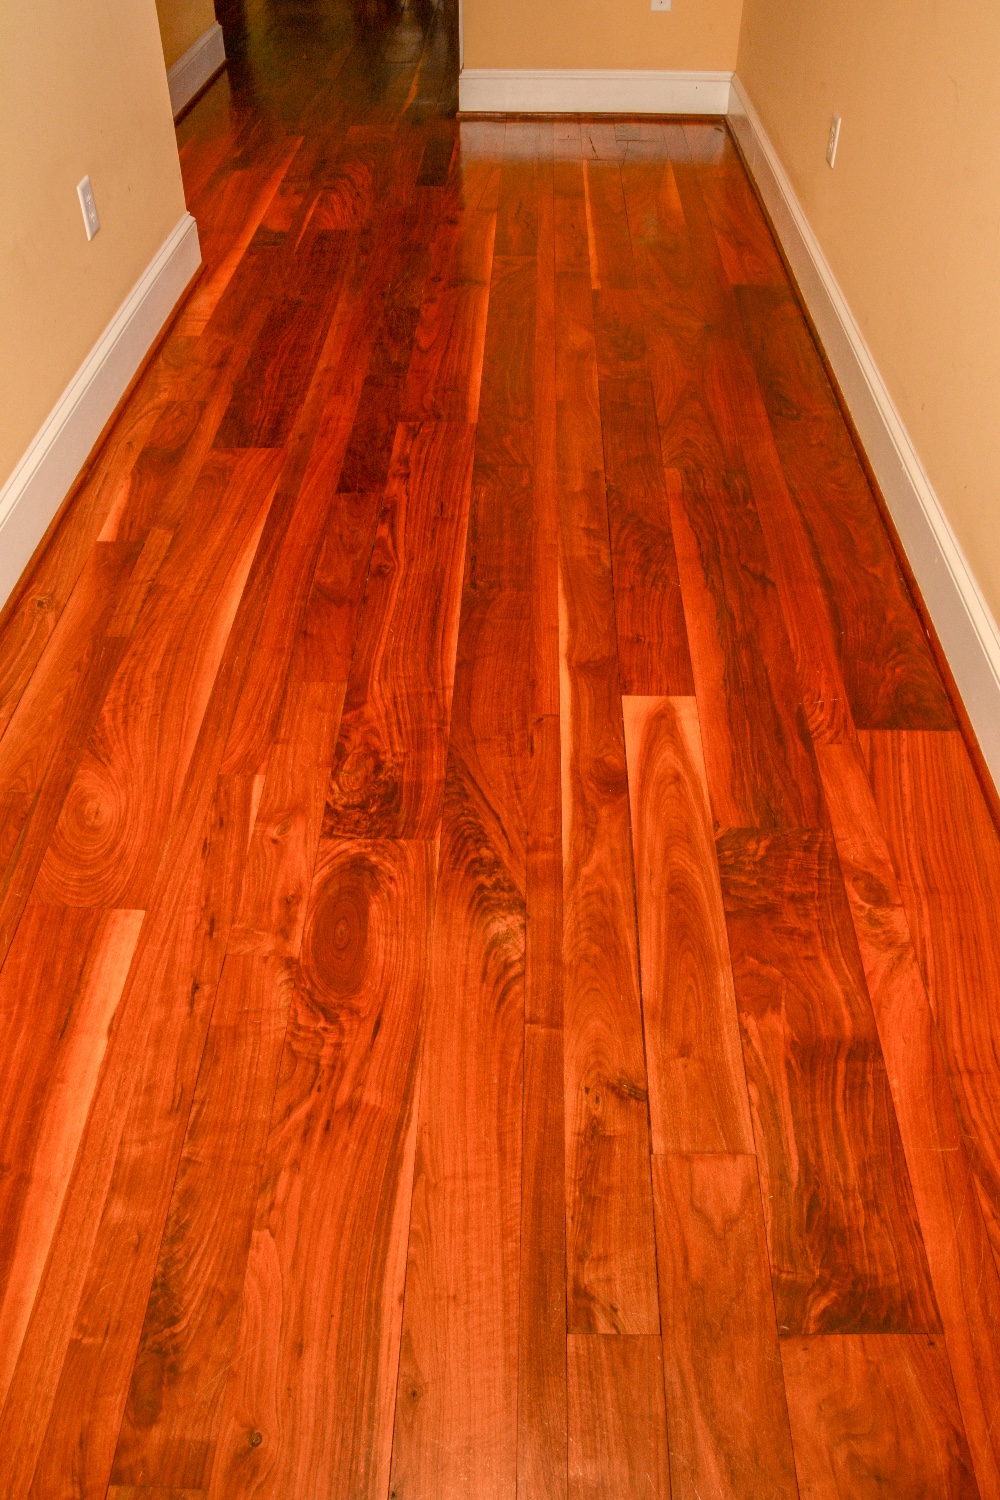
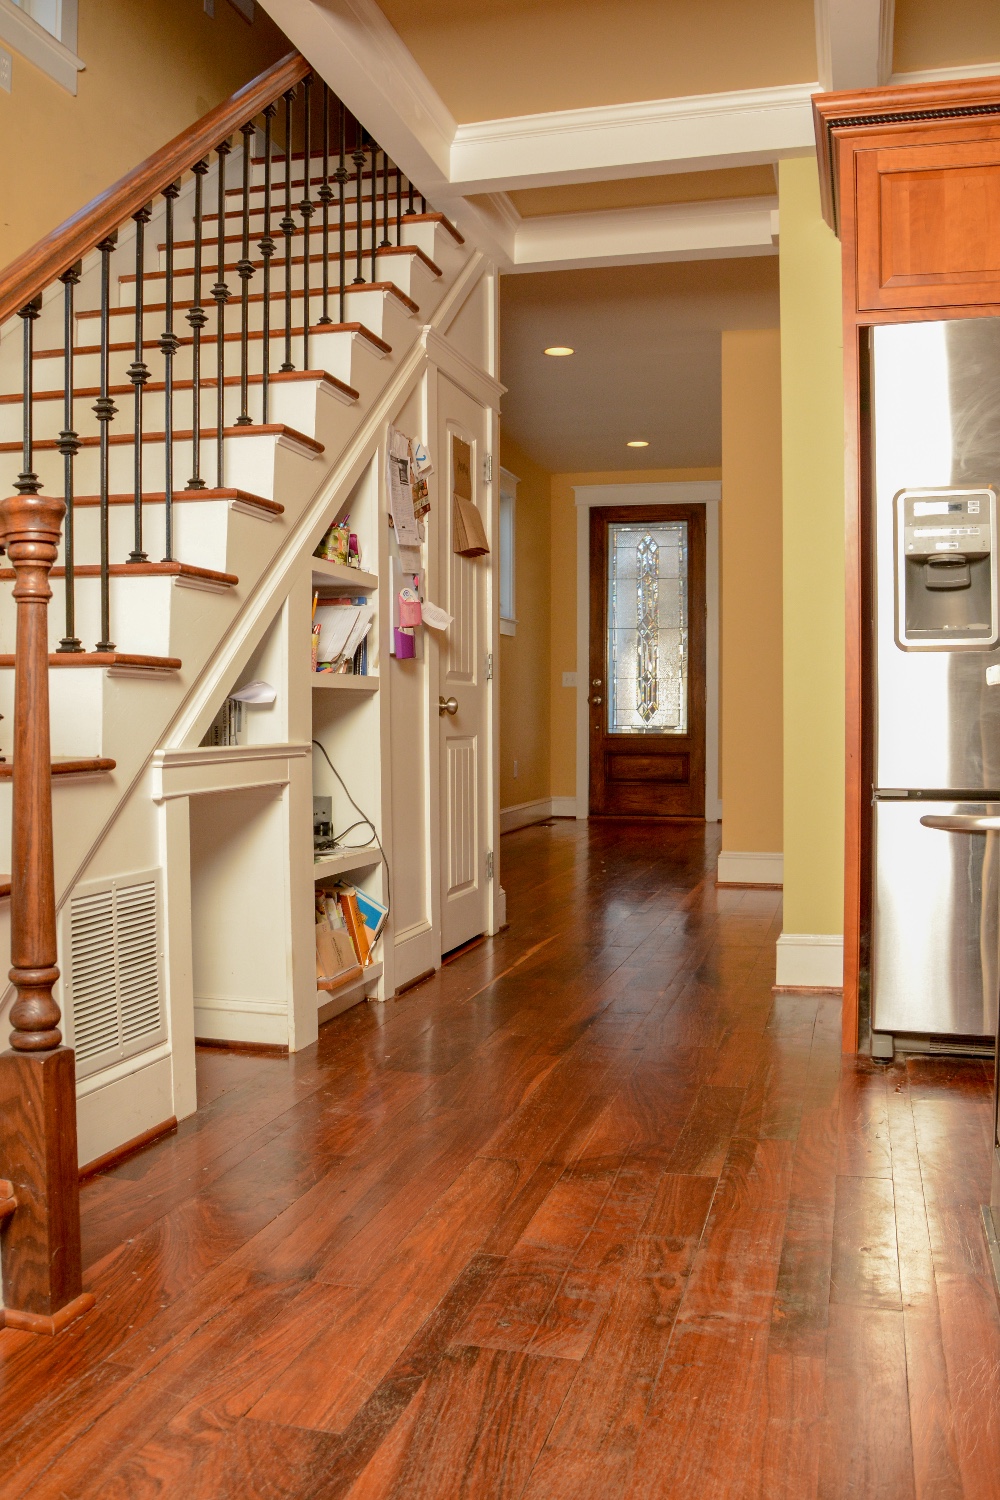 In this project, we cleaned and preservation finished a small kitchen and a hallway out to the front door. To the left is a picture of how the floor looked before the process. The floor is made from reclaimed lumber and has many natural scratches and wear. It was finished after installation about twelve years ago and has been maintained primarily through sweeping and vacuuming since.
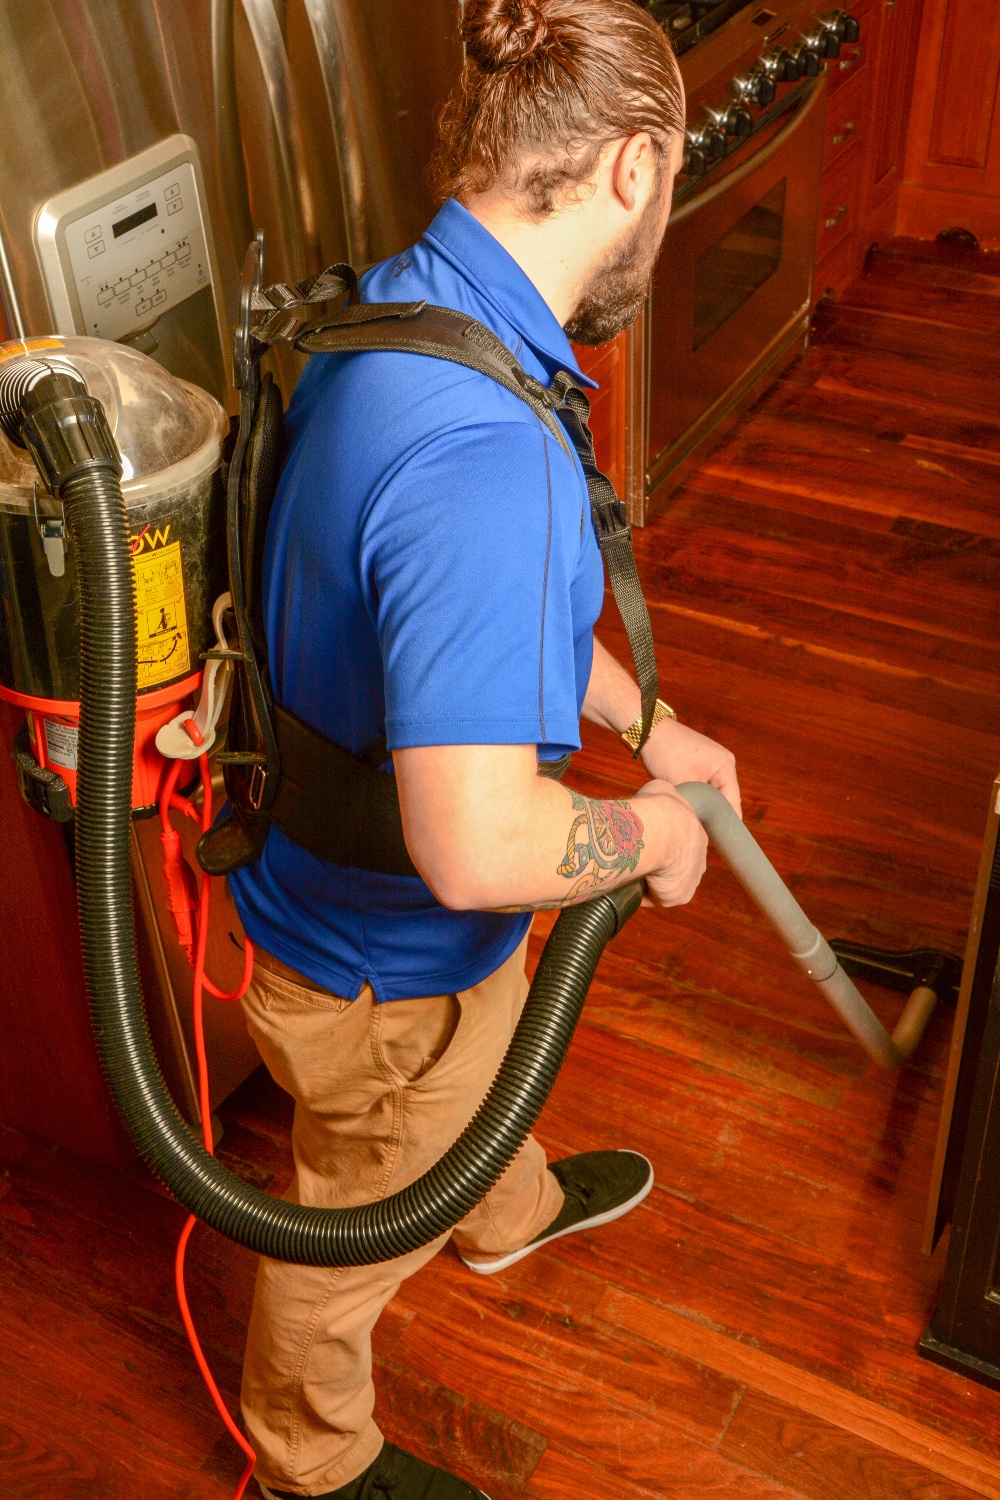 Our four-part wood floor cleaning process begins with a thorough vacuuming of all the areas we're going to clean in order to remove any solid, granular soil. Here's an over head shot of Scott prepping the kitchen area.
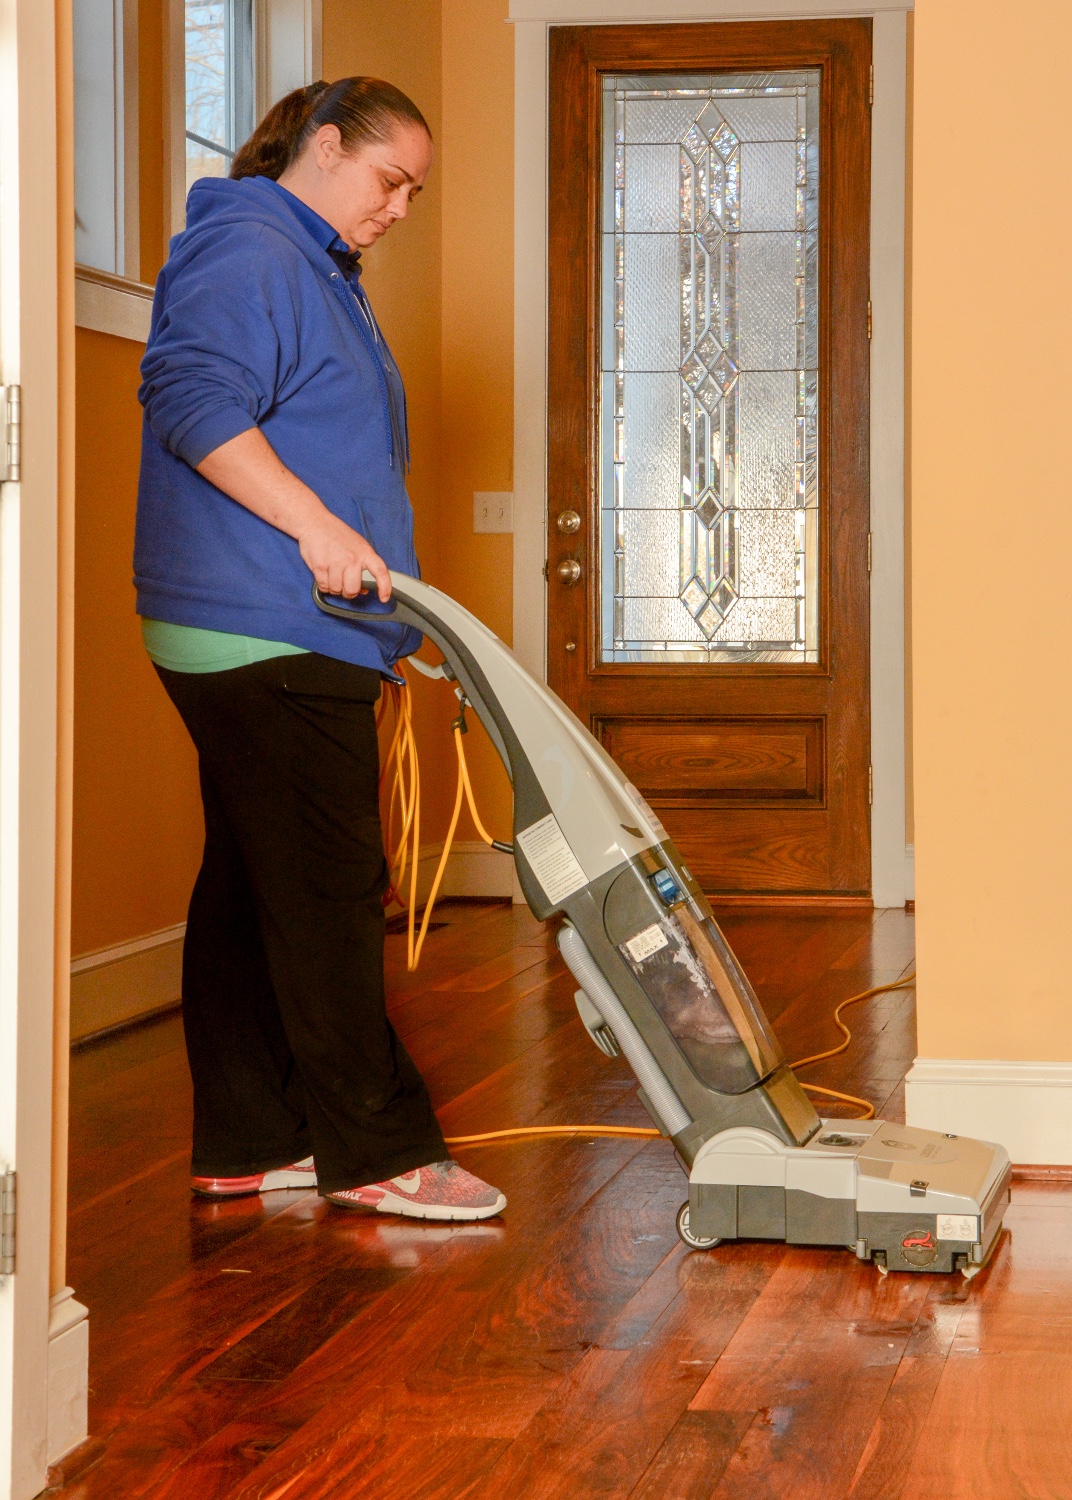
 Once all the dry, topical soil has been removed, we can begin the deep cleaning process. It begins with an alkaline wood floor cleaning agent, dispensed through the jets in our Lindhaus machine along with a small amout of water. The jets sit just behind a soft brush that agitates the area where the cleaner was dispensed; followed by a squeegie vacuum that immediately picks up the dirt water. Scott's a pretty happy guy, and on the right, you can see how pleased he is while removing years of ground in soil from these floors.
 After the first alkaline cleaning, a second cleaning is conducted with the same machine and process. The cleaning agent picks up any residue left behind by the first cleaning, neutralizes the floor and prepares the existing finish to accept the preservation finish in the next step. You can see Dawn focusing intently on doing this step exactly the way we drew it up!
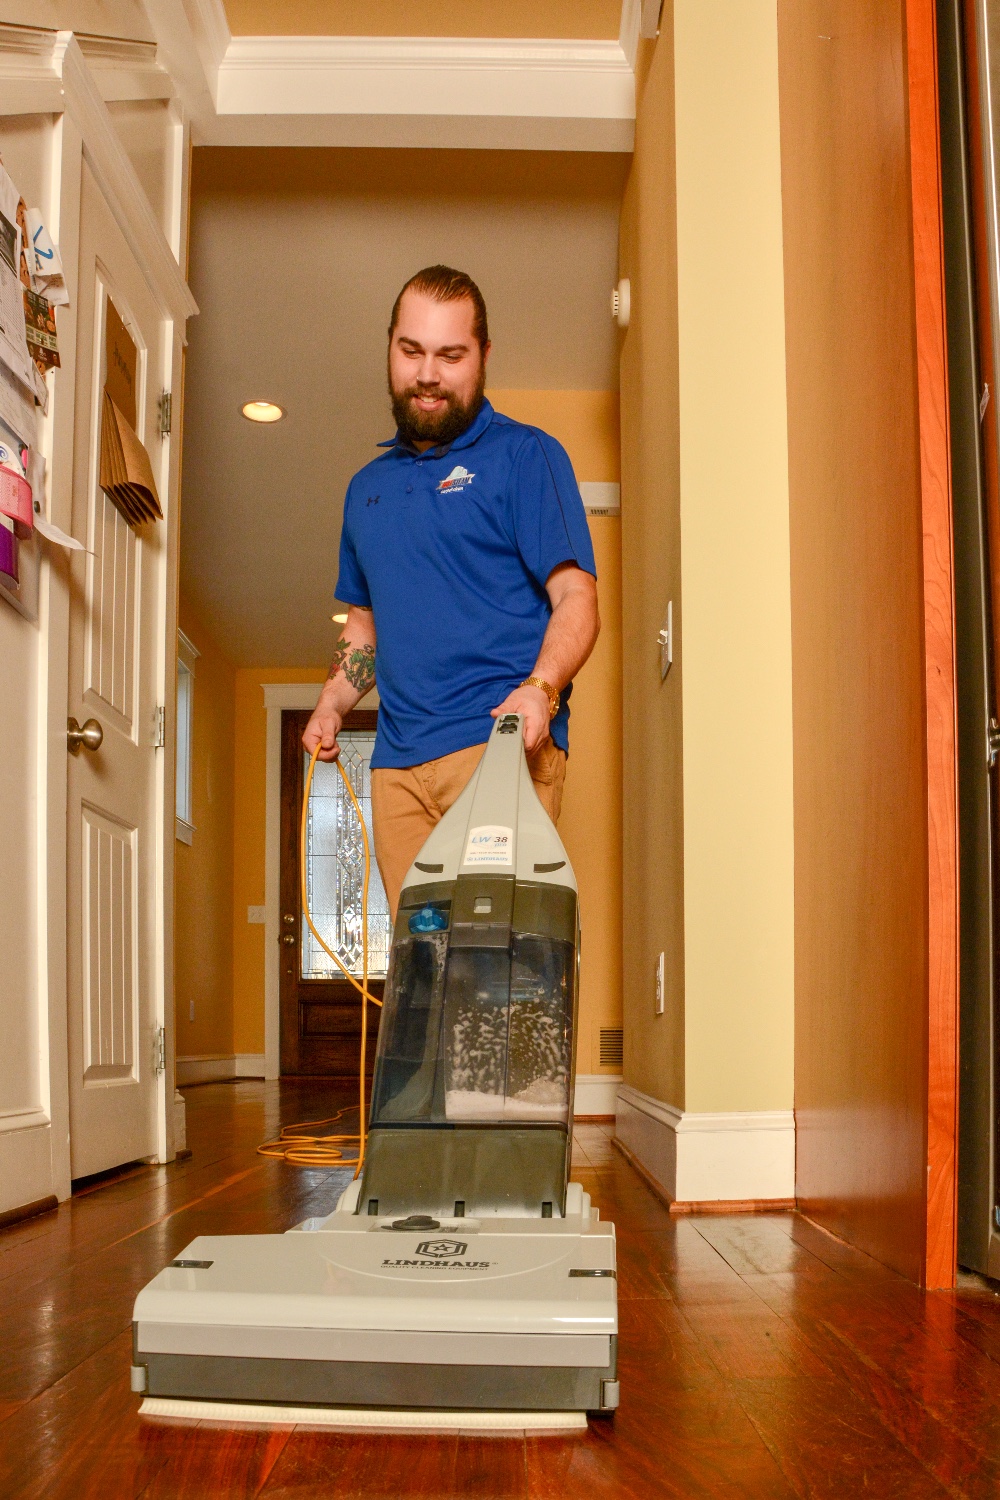
 After the two cleanings, we'll use a flat mop with a microfiber pad to pick up any residual moisture left behind. Then, with a perfectly dry floor we apply a coat of preservation finish. This is an acrylic / urethane blend that bonds with the existing finish, protecting it and extending its life while also making it look richer, shinier and new. We make sure to blend it in smoothly, evenly and thoroughly. Here you can see Scott using the flat mop to gently polish in the finish.
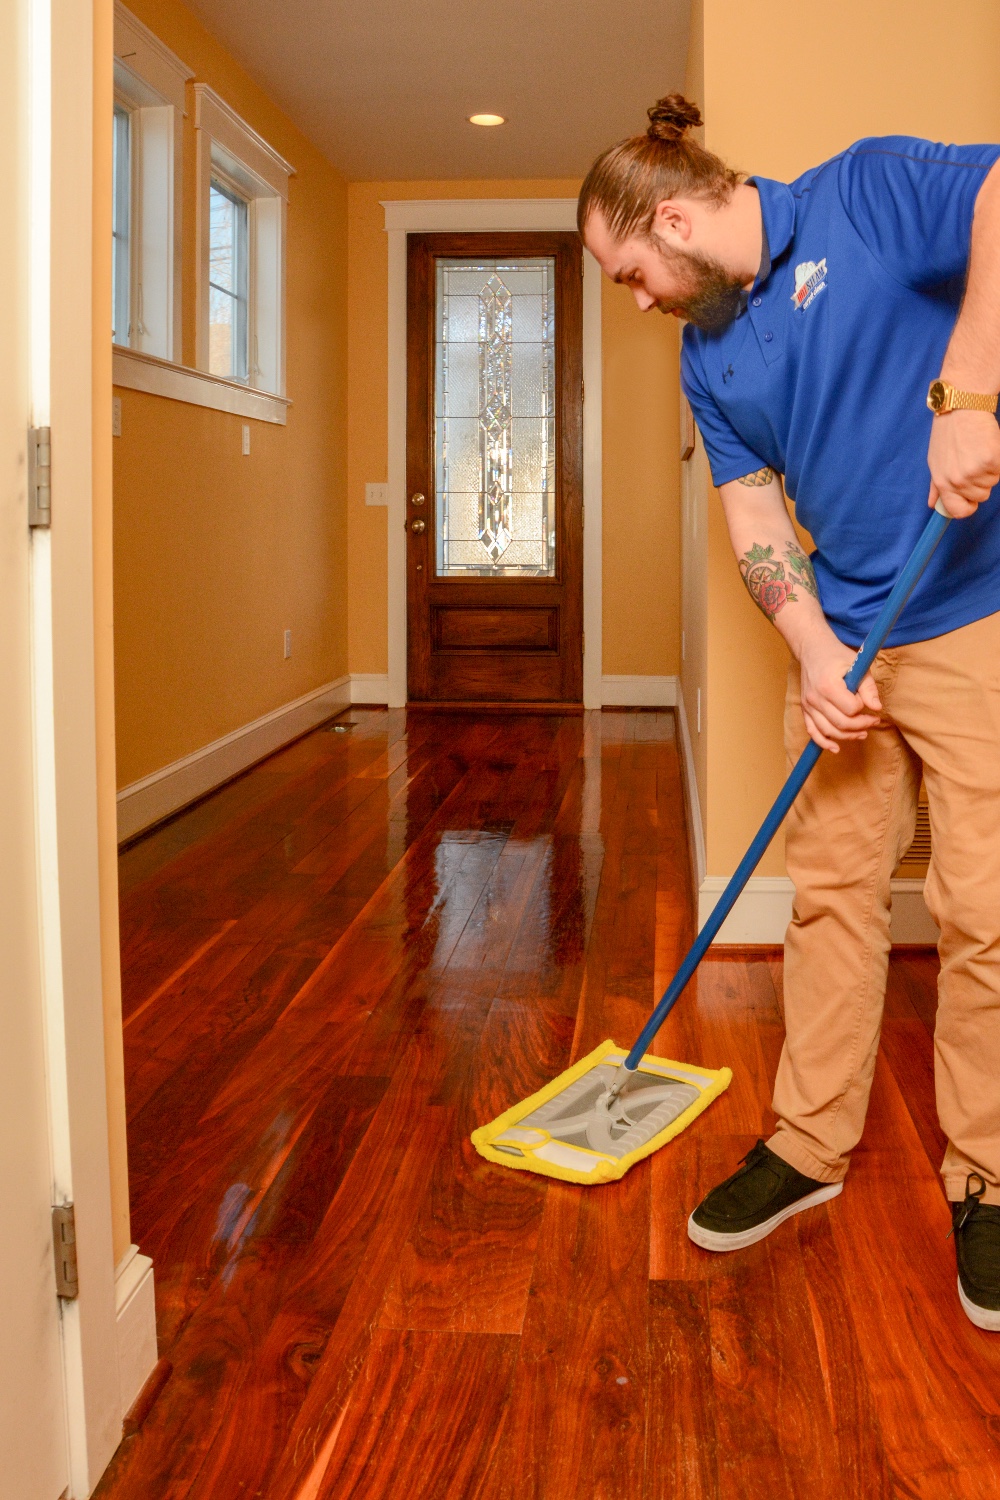
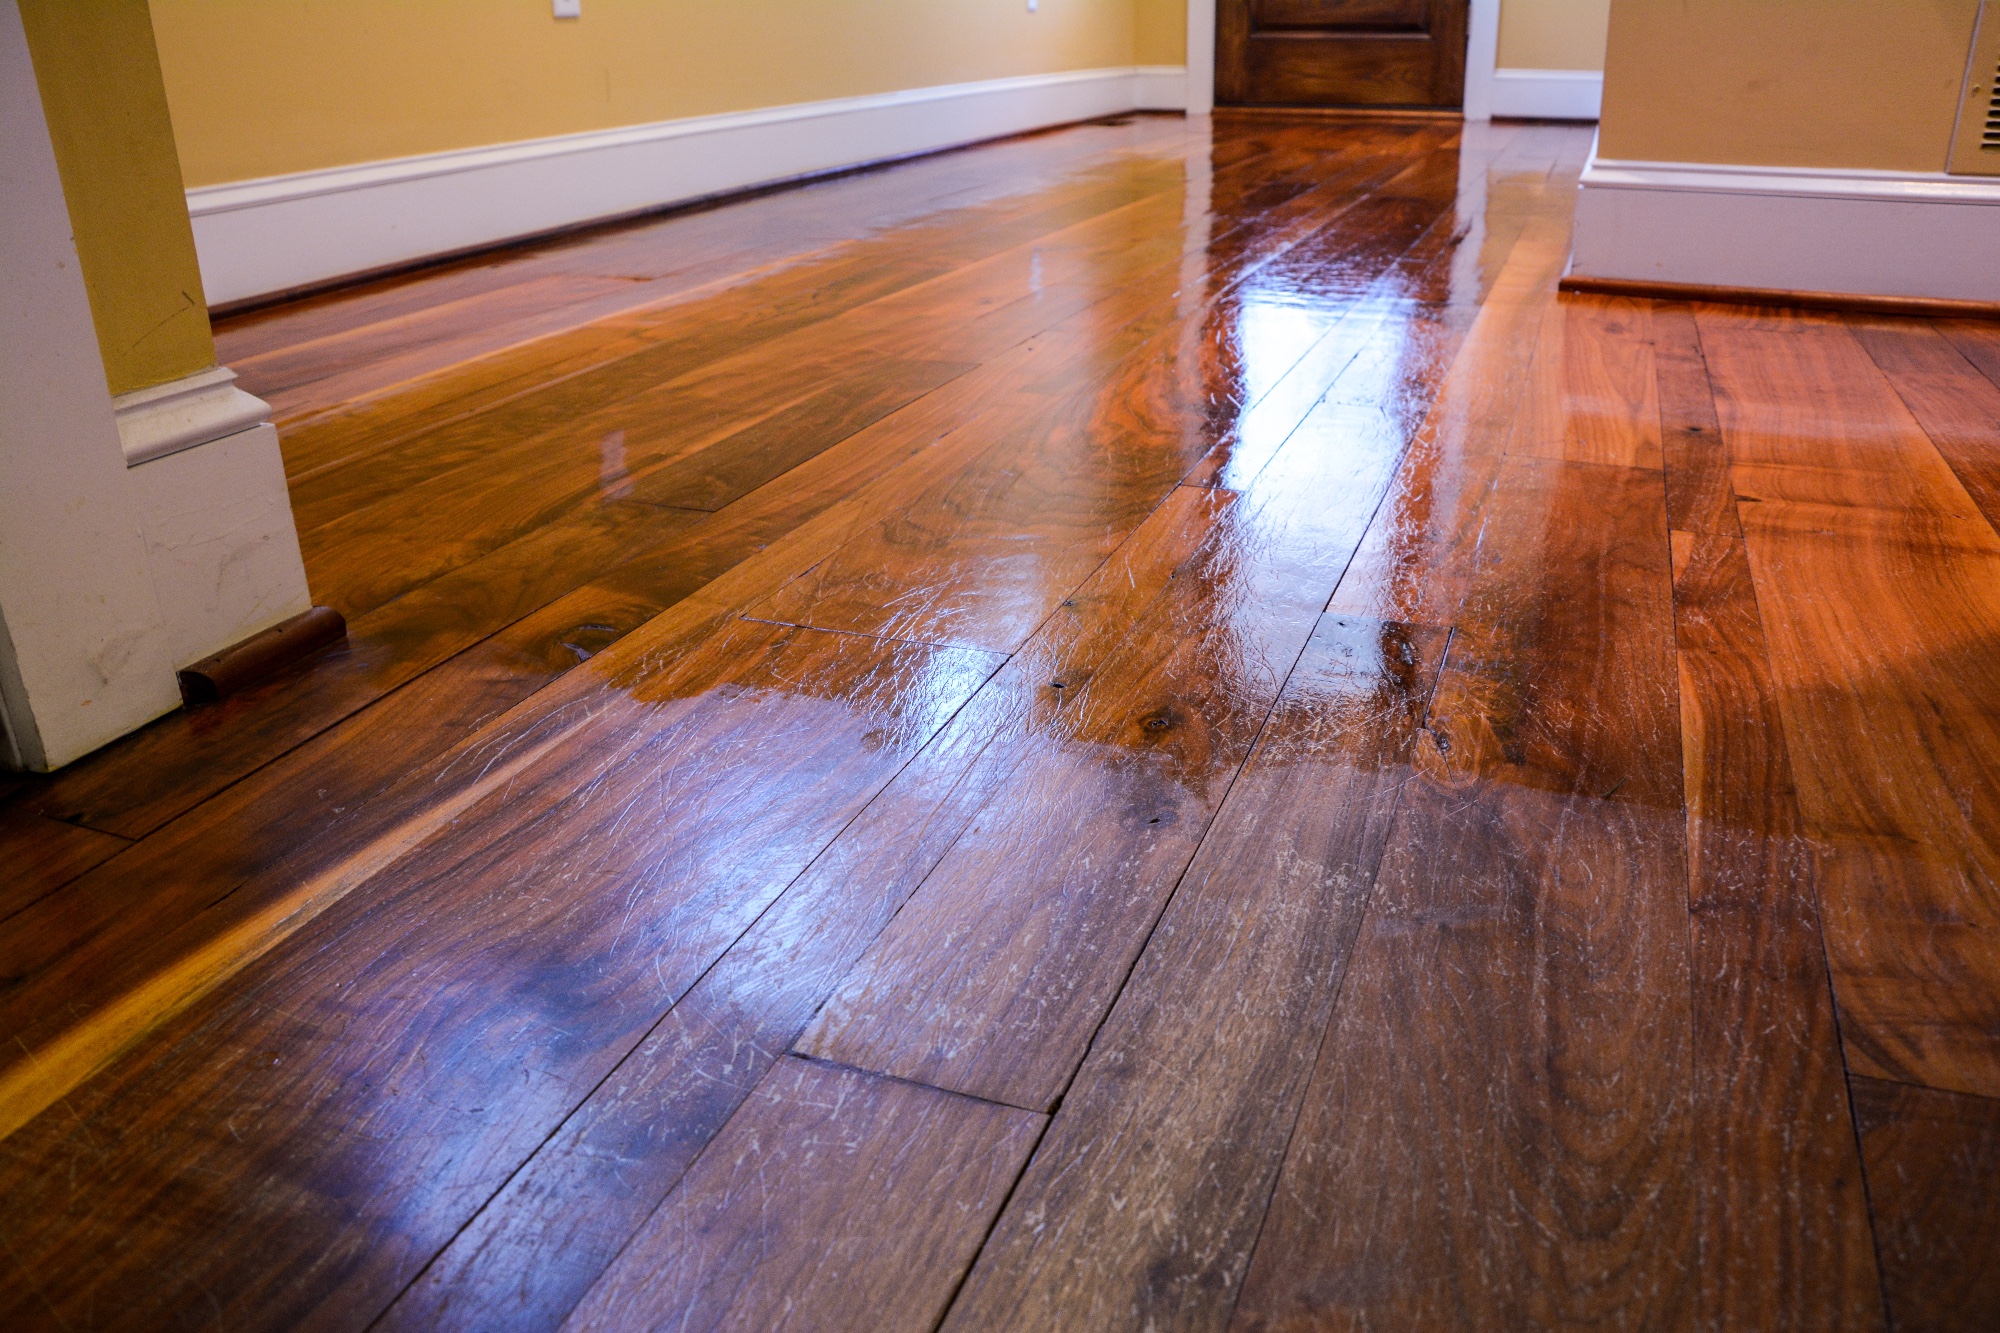 You can see what a difference the finish makes. The wood in the foreground has been cleaned, but the scratches in the finish and the wood are still obvious. The area just beyond the obvious line of demarkation has been finished and looks much better. When we apply the finish on the area in the foreground, the scratches won't go away (since we're not sanding and refinishing, but they will fill in a bit and become a lot less noticable.
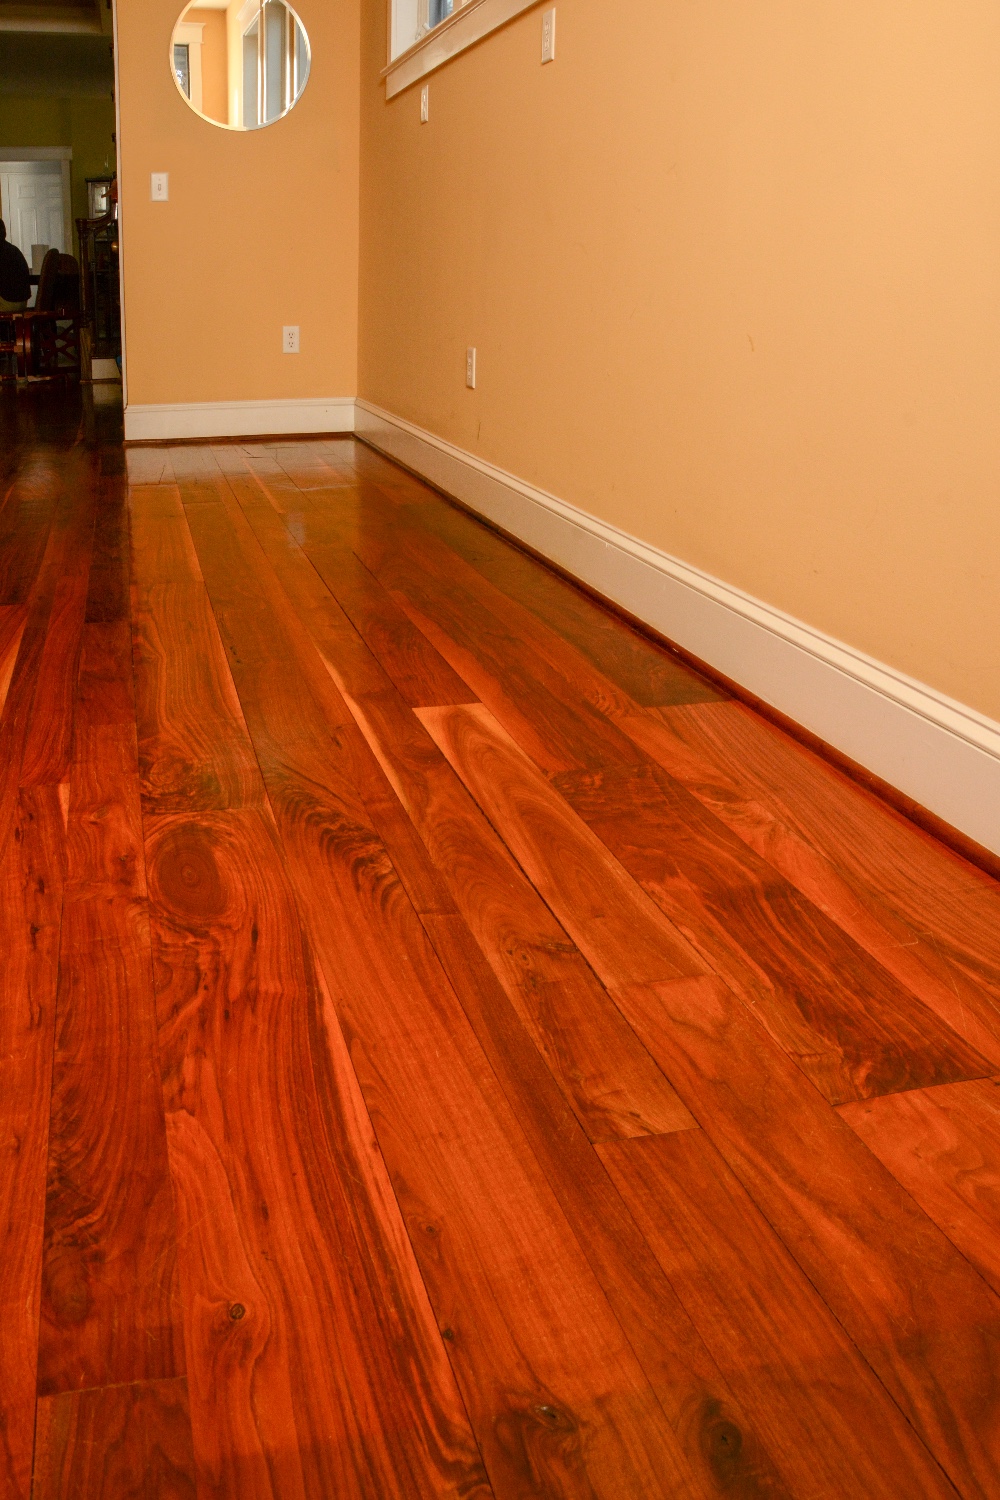
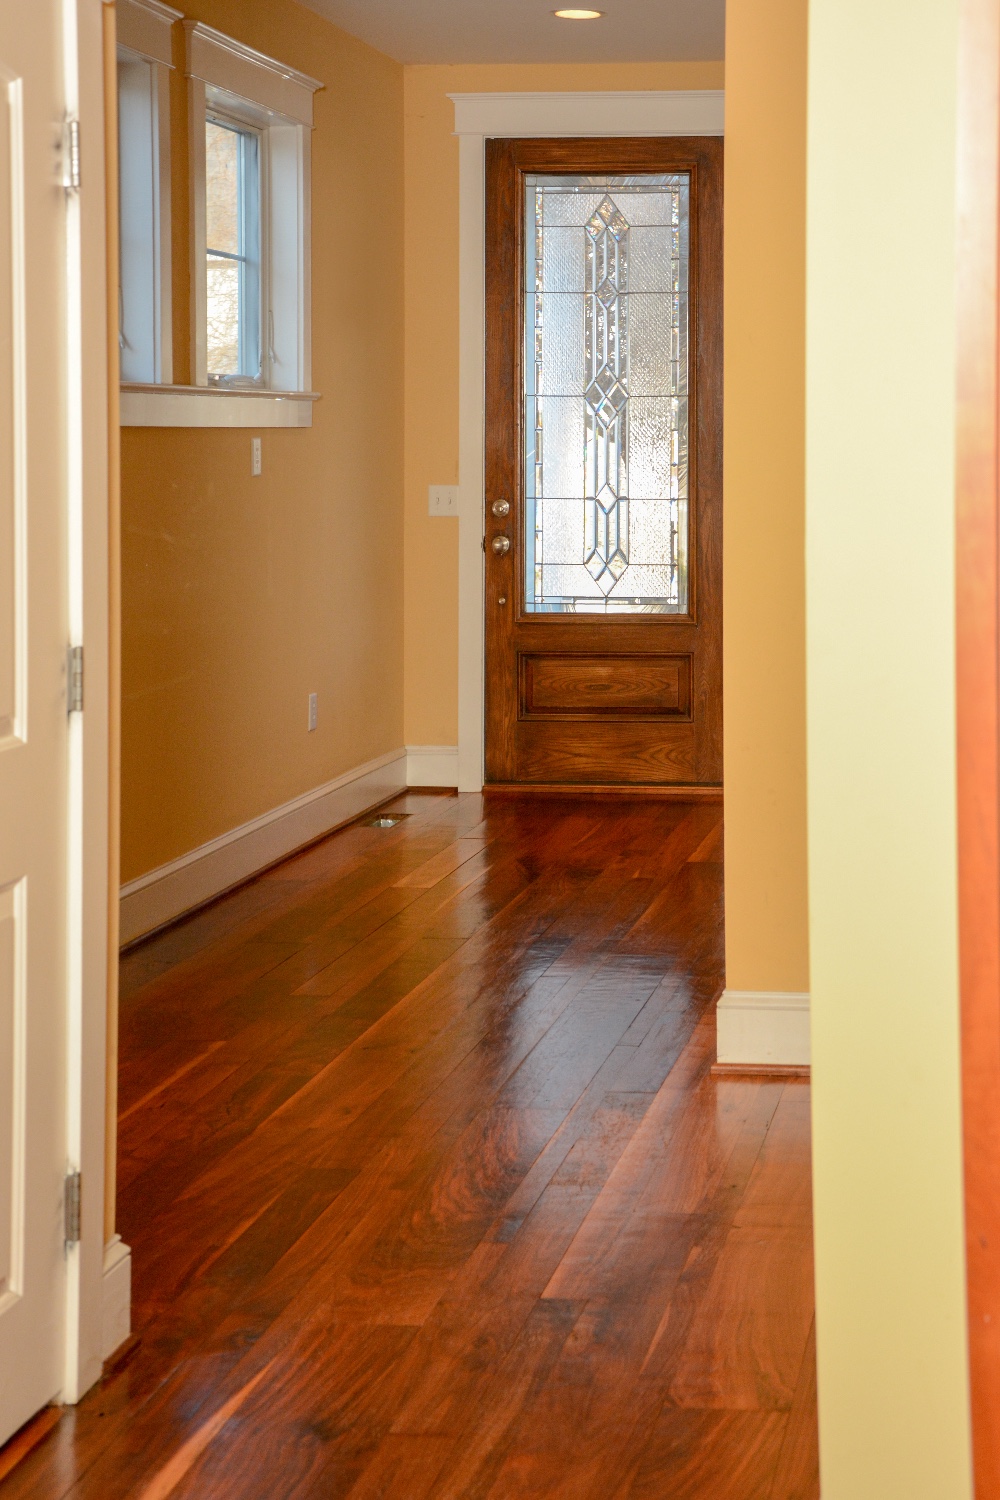
The following are shots of the hallway from various angles after the full process has been completed. You can see what a difference it makes when comparing it to the "pre-process" shot in the beginning. This is an ideal process for people who want to protect and enhance the look of their existing floors, while also removing all the ground in soil that hides in wood floors. Periodically cleaning and preservation finishing can save you from having to sand and refinish down the road. It also makes a lot of sense for people selling their homes who want a more refined, high end look that will help their home "pop" on showings, without going through the mess and expense of sanding and refinishing.